Projects
Tips for organizing your services and apps into Rollbar projects
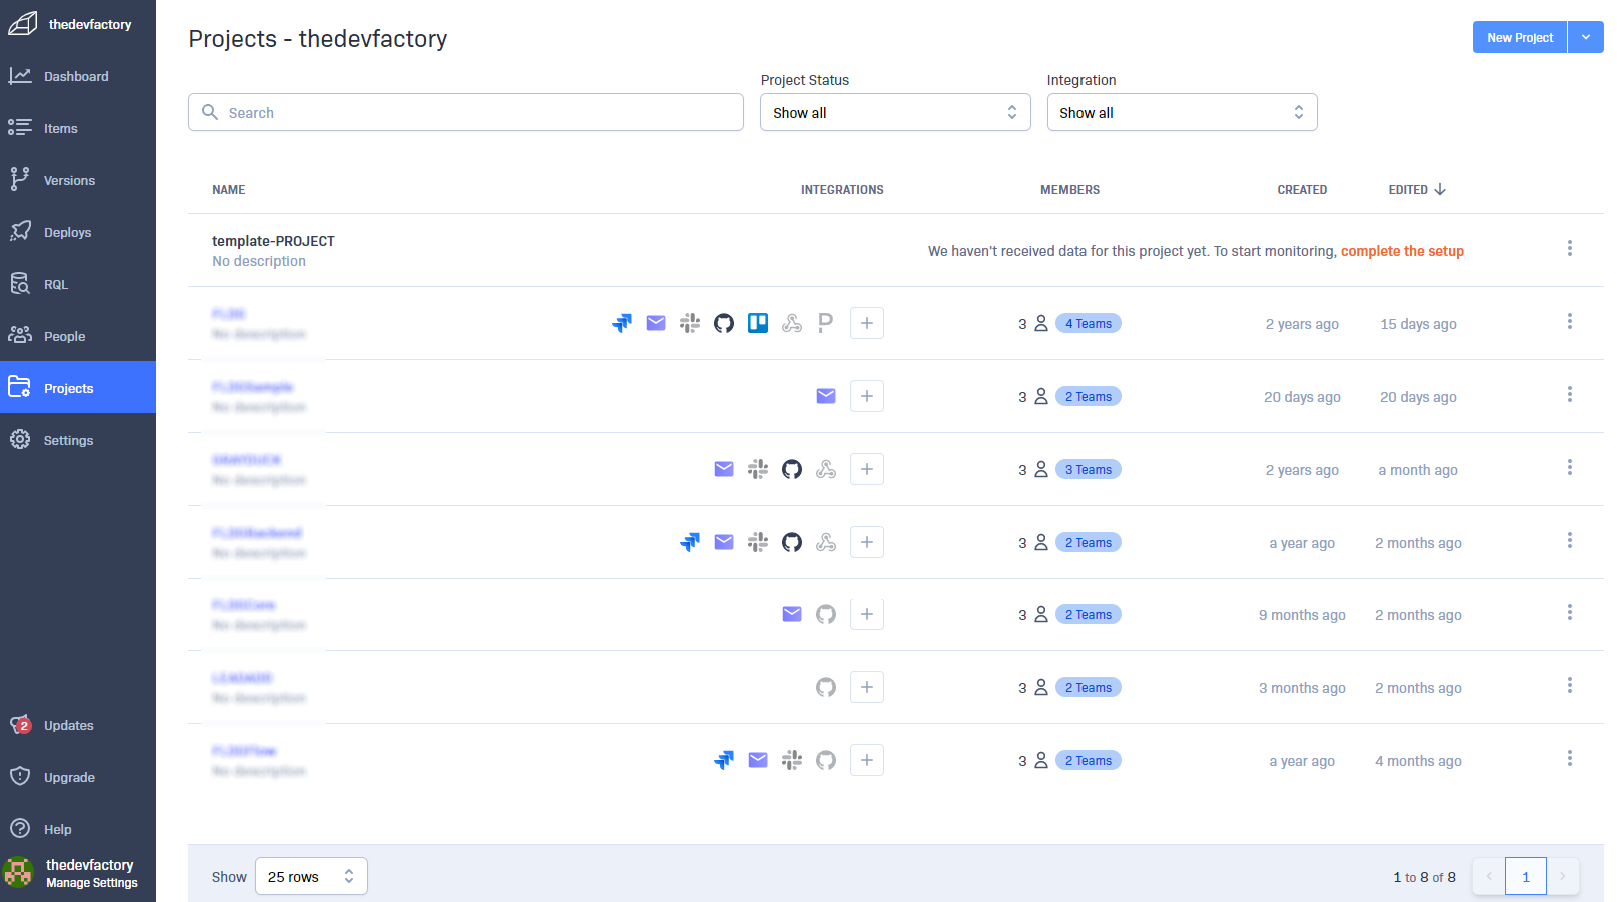
View of the Projects menu for a Rollbar account
Data in your Rollbar account is organized into projects. A project represents a single deployable / release-able service or app and has its own settings for notifications, custom fingerprinting, user access, and more.
When first setting up a Rollbar account, a common question is "How should I set up my Rollbar projects?" Here are some recommendations:
Guidelines for creating Rollbar projects
- 1 deployable/releasable app or service ~ 1 Rollbar project
- 1 git repo ~ 1 Rollbar project
Other considerations for Rollbar projects
- One Rollbar project can contain errors from multiple languages and frameworks. This is useful if, for instance, you have a web app with Javascript on the front-end and Rails on the back-end. If the front-end and back end are deployed together and/or live in the same repo, then you can track them in a single Rollbar project.
- Are you maintaining shared libraries that are used across multiple apps or services? If yes, and these libraries have their own git repositories, then you should set up a dedicated Rollbar project for each library so that the maintainers will get notified when an error occurs in a dependent app/service.
Create a Rollbar project
You must be a member of the Owners team for an account to create projects within it.
There are two ways that an owner can create a new project:
- Select + create new project from the dropdown list in the upper left of the Rollbar app.
- Go to Account Settings → Projects. The url here is: https://rollbar.com/settings/accounts/{account_name}/projects.
Control Access to a Project
Access to Rollbar projects is managed through teams.
To assign a team to a project, go to Account Settings → Teams → {Team Name} → Add to Project.
Transfer projects between accounts
Rollbar has the ability to transfer projects from one account to another. This will also allow you to merge or combine accounts, or move all/some projects to a new account.
Requirements:
- Must be a part of the Owners team in both accounts. You may transfer projects between any two accounts you own. If you wish to transfer to an account not listed here you need to be added as an owner of that account.
- Re-invite users who have access to the project to the new account.
Steps to execute transfer:
- Go to Project Settings → Advanced → Transfer Accounts
- Select the destination account → then confirm your username and password and submit the request.
- Go to your newly transferred project and check your configurations. Make sure you have the correct teams assigned and notification rules set up. We will attempt to transfer as many settings as possible to the new account, but some may not move depending on which users have access to the new account.
Updated about 2 years ago